Table of Contents
Imagine leaving your phone behind but still staying connected. Discover how to activate cellular/eSIM on your Apple Watch and enjoy the freedom of calls, texts, music, and more – right from your wrist.
Apple offers two categories of watches: those with GPS support and those with both GPS and Cellular capabilities.
The GPS-supported Apple Watch allows you to make calls, respond to messages, and receive notifications as long as your iPhone is in close proximity.
On the other hand, the GPS+Cellular-enabled Apple Watch provides additional functionality. With a cellular connection, you can make calls, reply to messages, receive notifications, and more, even when you’re away from your iPhone.
Let’s learn how to add an eSIM to the Apple Watch for setting up cellular service!
What’s an eSIM
An eSIM is like a digital SIM card built into your Apple Watch. No need to insert a physical chip; it’s already there. Some phones, like iPhones, also use this technology, allowing you to have two SIMs (Dual SIM) — a digital one and a physical one.
eSIM compatible Apple smartwatches
Starting from the Apple Watch Series 3, Apple has consistently incorporated eSIM technology into its smartwatches. If you’re curious about which smartwatches support eSIM, here’s a list for you:
- Apple Watch Series 3
- Apple Watch Series 4
- Apple Watch Series 5
- Apple Watch Series 6
- Apple Watch Series 7
- Apple Watch Series 8
- Apple Watch Series 9
- Apple Watch Ultra LTE
- Apple Watch Ultra 2
What you need to Set Up Cellar on Apple Watch?
Before you start make sure:
- You have an eSIM supported Apple Watch and an iPhone XS, XS Max, or XR device with the latest version of iOS.
- Your iPhone and Apple Watch have the latest software updates.
- Check for updates to your carrier settings.
- You have an eligible cellular service plan with a supported carrier. Ensure both your iPhone and Apple Watch use the same carrier, and you’re within your carrier’s network during setup.
- If you have an enterprise or corporate cellular plan, check with your company or carrier for support. Note that pre-paid and some older accounts may not be supported. Contact your carrier to confirm your account’s eligibility.
Suggested Tutorial:
Steps to Activate eSIM / Set Up Cellular on Apple Watch
To enable the eSIM on an Apple Watch, follow these two phases:
- Pair your Apple Watch with your iPhone.
- Add a data plan.
Pair Apple Watch with iPhone
Follow these steps to pair your iPhone with your Apple Watch and control your iPhone functions from the watch. Keep in mind that both devices need to be near each other during the process to stay connected.
Steps to synchronize your iPhone with your Apple Watch:
- Ensure your iPhone is connected to a WiFi network or has an activated cellular data plan.
- Go to Settings, select Bluetooth, and turn it on.
- Press and hold the side button on your Apple Watch to turn it on.
- Bring your iPhone close to your Apple Watch. When the message “Use your iPhone to set up this Apple Watch” appears on your iPhone, tap Continue.
- Center the watch face in the viewfinder on your iPhone. Wait for a message confirming that your Apple Watch is paired.
- Click to set up your Apple Watch. If you had a previous Apple Watch, you may want to choose a backup.
- Read and Agree to Terms and Conditions:
- Set up a passcode, especially for transactions or payments.
- Install the apps of your choice on your Apple Watch.
- Wait for the pairing procedure to finish. Keep both devices near each other until you hear a sound and feel a light press on the Apple Watch.
Add Cellular Plan : Set Up eSIM
Once you’re done, you can leave your iPhone behind and take a walk with just your watch. It will have its own internet connection, so you’ll stay connected wherever you go.
To add a data plan via eSIM to your Apple Watch, follow these steps:
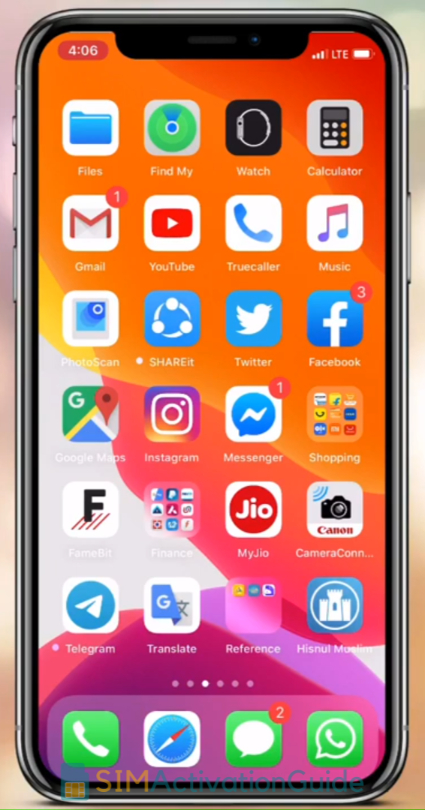
1. Open the Apple Watch app on your iPhone.
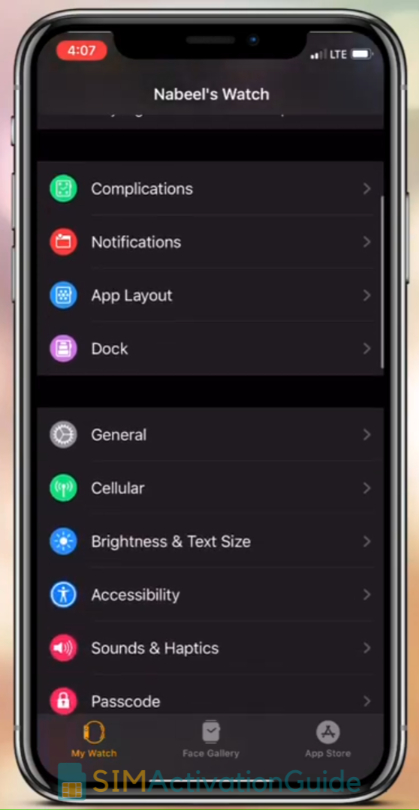
2. Tap the My Watch tab. scroll down, then select Cellular.
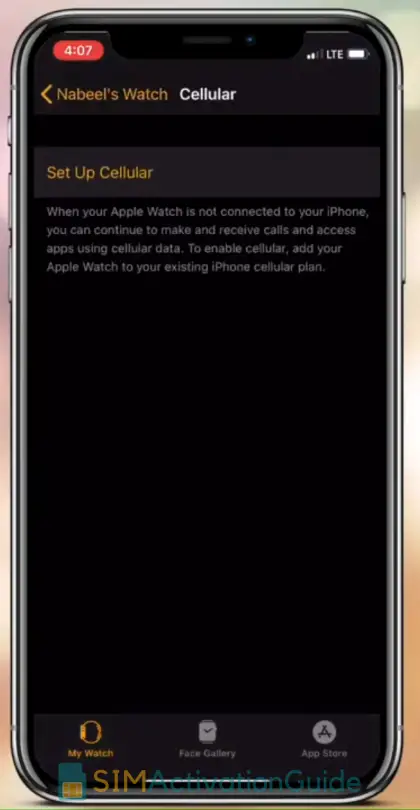
3. Tap on Set Up Cellular.
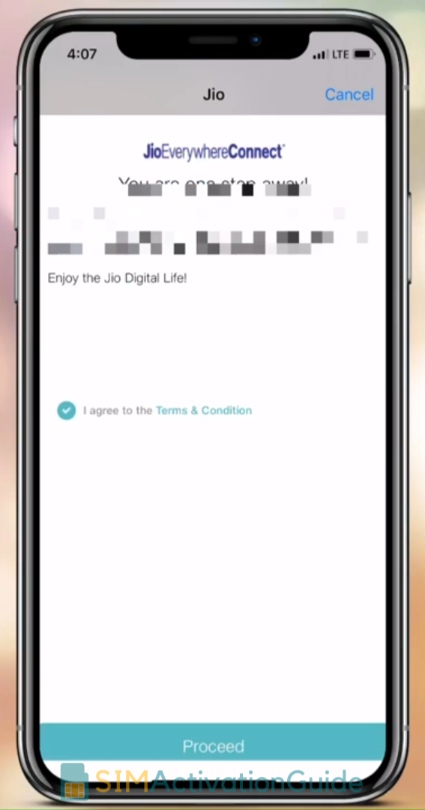
4. Then follow your carrier’s instructions. Enter your username/email and password for your carrier-managed account.

4. Review the Terms and Conditions, check the fee, and tap Agree.
5. The download of the eSIM profile to your Apple Watch will begin, taking a few minutes. Once service activation is complete, you’ll be notified. Some carriers notify you via SMS on your watch, while others use pop-ups on your iPhone.

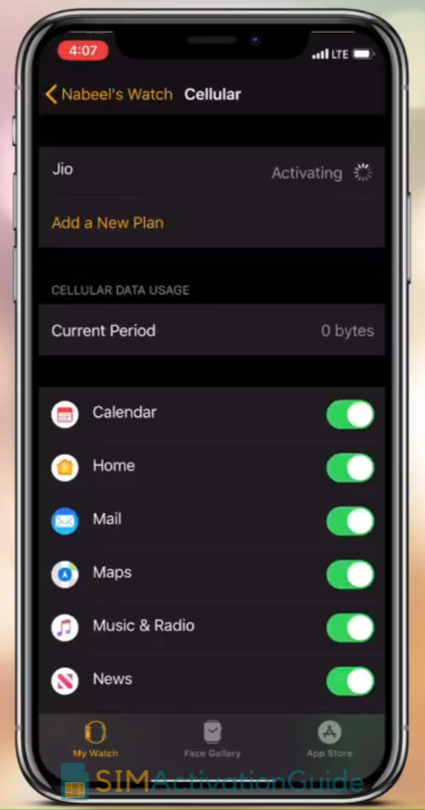
Once activated, your new profile will appear under Cellular within the Apple Watch app. Your watch will display a signal indicator, indicating successful activation.
In summary, your Apple Watch will function as an extension of your cellphone. If your cellphone has multiple contact numbers (including an eSIM), your Apple Watch can answer calls, make calls, and send or receive messages, mirroring your cellphone’s capabilities. This enables you to leave your iPhone at home and still stay connected while on the go.
How to Remove cellular plan from Apple watch?
To remove your cellular plan at any time, follow these steps:
- Open the Apple Watch app on your iPhone.
- Tap the My Watch tab, then select Cellular.
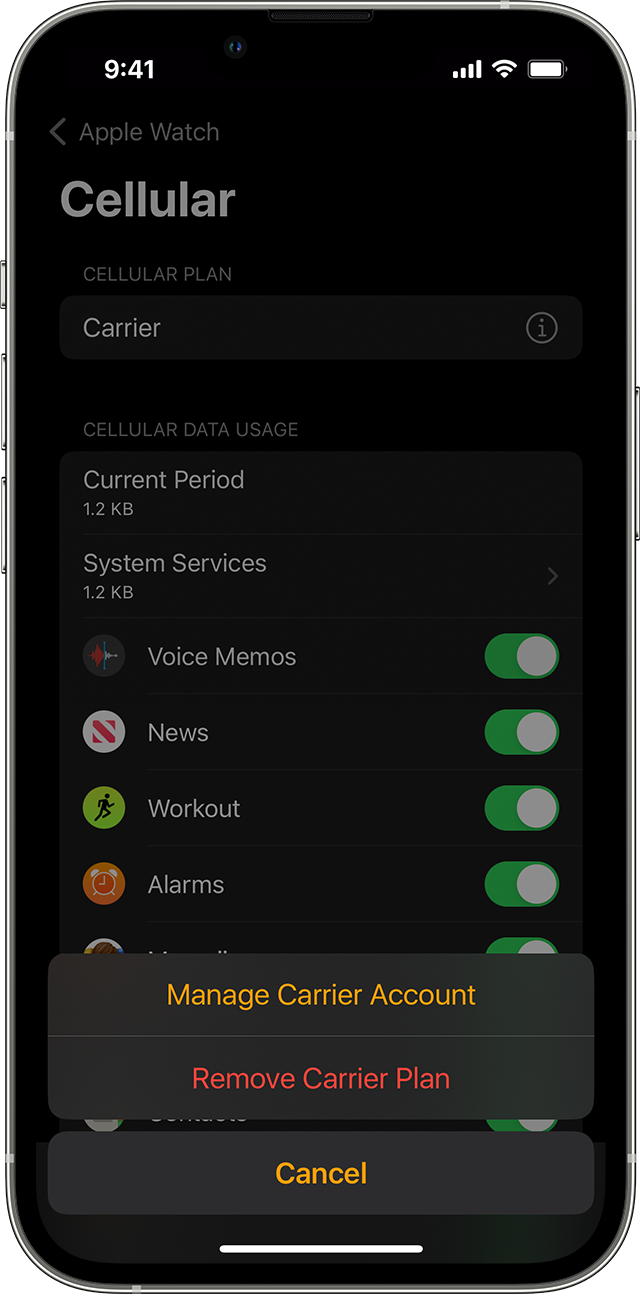
- Tap the information button next to your cellular plan at the top of the screen.
- Tap “Remove [carrier] Plan” and confirm the action.
- If needed, contact your carrier to cancel your cellular subscription.*
- If you erase and unpair your Apple Watch, you’ll also have the option to remove the plan. Choose “Erase All” when prompted to remove the plan.
*Note: Some carriers may require additional steps to cancel your cellular subscription. Contact your carrier for assistance if necessary.
I hope, this tutorial helped you to set up or remove cellular plan on/from your Apple Watch. If you face any issues during any steps, please comment below.
You might also be interested in: